Last night I was #sqlhelping someone on twitter having an issue with importing data from excel. The data preview dialog returned results correctly, while the package errored at run time with a connection error. The issue was caused by Run64BitRuntime property of the package being set to true and it is in fact a well known and common issue with 64bit SSIS. Tip: install both 32bit and 64bit version of providers for your data sources if they are available.
Then it occurred to me to try it myself on my setup as I’m running 64-bit W7, 64-bit SQL stack and most importantly the first release of 64-bit Excel 2010.
The obvious path
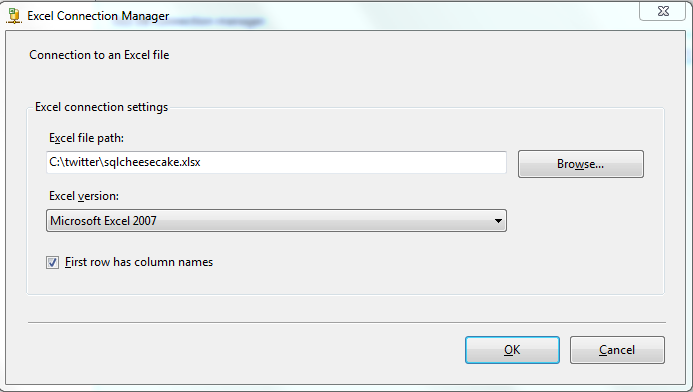
So, I created a new package in a SSIS project and created a dataflow task. Then dragged an Excel Source from Data Flow Sources and clicked on new connection manager to define the connection to an excel file I was trying to import.
End then problems begin:
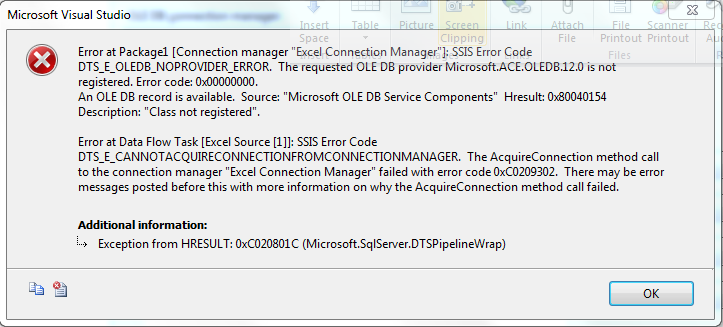
If you try to select the sheet from the dropdown (in Table or view Data access mode) the following error dialog jumps in to your face:
The ‘Microsoft.ACE.OLEDB.12.0’ provider is not registered on the local machine.
Simlar but more verbose error is thrown if you try the SQL command as Data access mode with something like
select * from [Sheet1$]
It boils down to provider not being registered on the machine.
Why?
As I have already pointed out – the installed version of Excel 2010 on my machine is 64bit and BIDS being a 32-bit application can not load 64-bit stuff. The ‘Microsoft.ACE.OLEDB.12.0’ provider installed is 64-bit.
The next obvious path
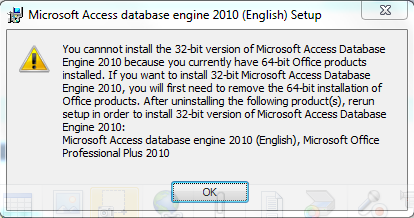
So, you think, I’ll find and install the 32-bit version available from Microsoft Download (http://bit.ly/anbrtk). After downloading and running the setup for AccessDatabaseEngine.exe you get the following error:
So it turns out you can’t have both 32-bit and 64-bit of the provider installed on the same machine.
Note that this is all due to the fact that BIDS (Visual Studio) is a 32-bit application.
So, is it hopeless?
No not at all. In fact you have two solutions to overcome this issue.
Solution 1 – using the SQL Server Import and Export Wizard
Well, this will work but it is kind of a 1 time solution because it will create an unmanageable package. But let’s go through the steps which are quite straightforward if you have used the wizard before with just a minor tweak. The most important thing is to start the 64-bit version (Import and Export Data (64-bit)).
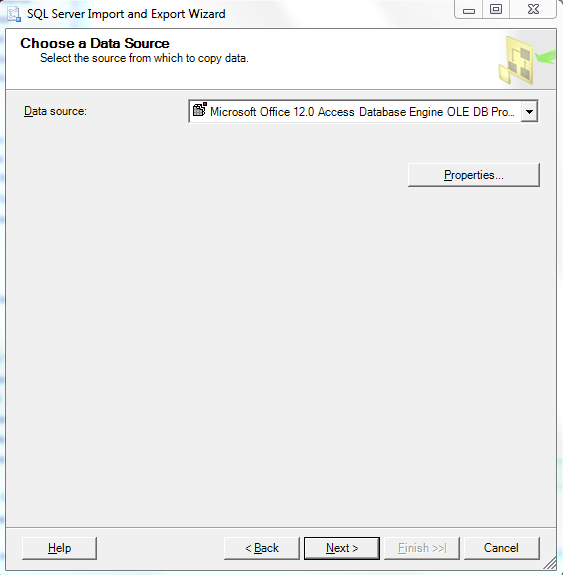
Ok, start the Import and Export Data (64-bit) wizard and select Microsoft Office 12.0 Access Database Engine OLE DB Provider as shown on the following picture.
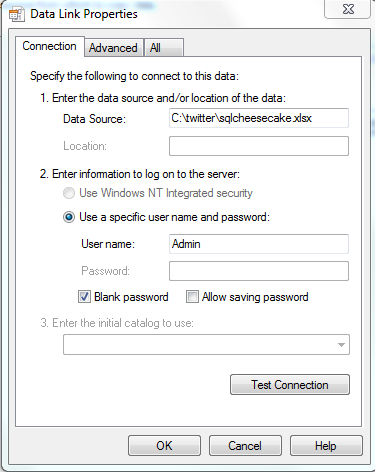
Now click on Properties and set the path to your excel file in the Data Source text box:
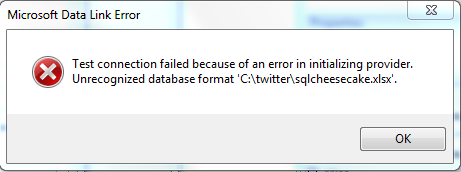
Clicking on the Test Connection button yields the following error dialog.
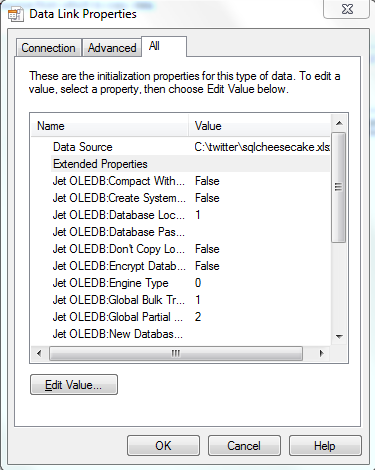
This is the minor tweak needed that I mentioned earlier. Switch to All tab in the Data Link Properties dialog and double click on Extended Properties.
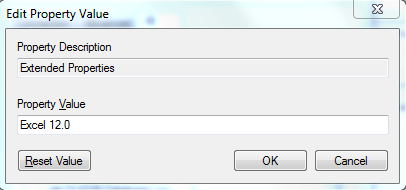
Insert “Excel 12.0” in the Property Value (without quotes) and click OK.
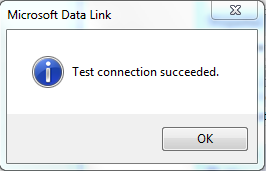
Return to the Connection tab and click Test Connection button. It should suceed now.
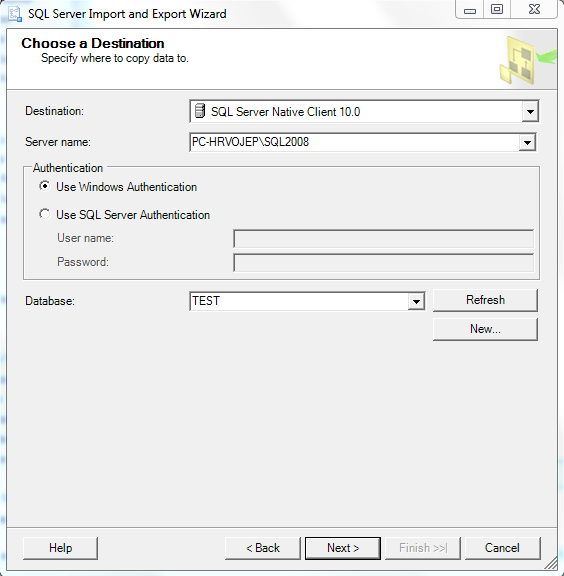
Next set the destination. Here I have set it to database TEST on my local named instance of SQL server (localhost\SQL2008).
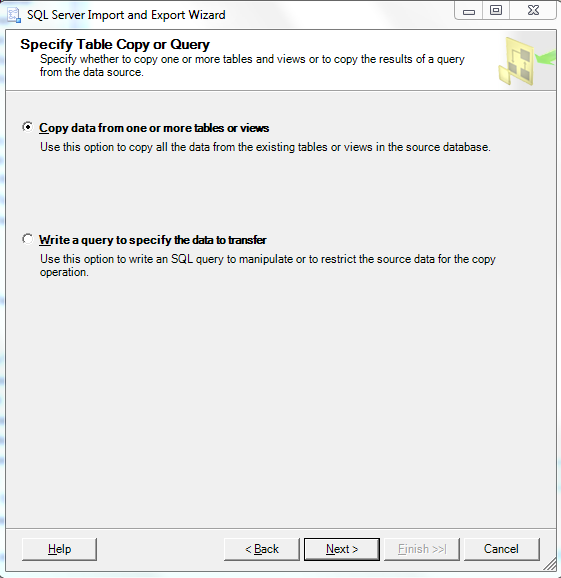
After clicking next, choose from the options. Lets just leave it at the default for now and click next.
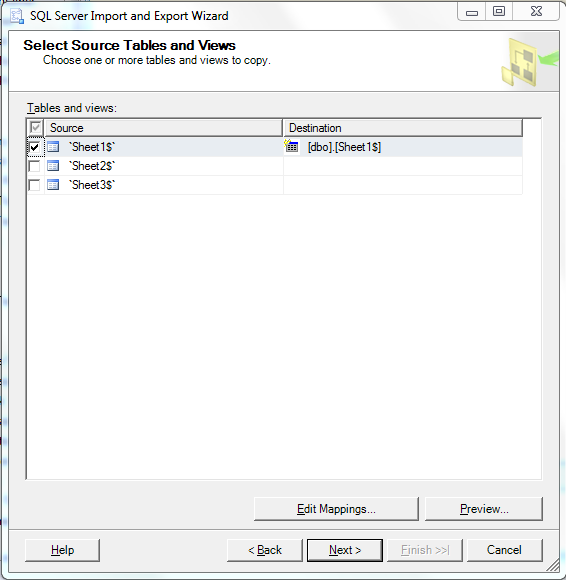
Place a check for the sheet that contains data and either leave the default destination on choose from existing tables.
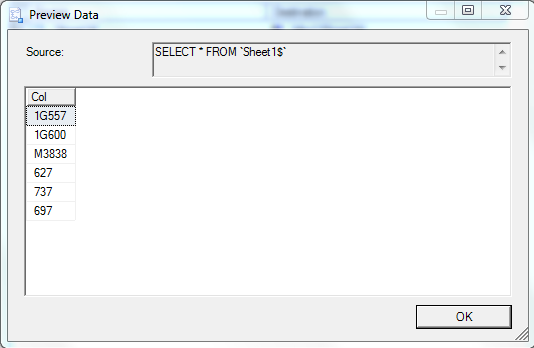
We’ll skip the mappings part for now and just click Preview to test.
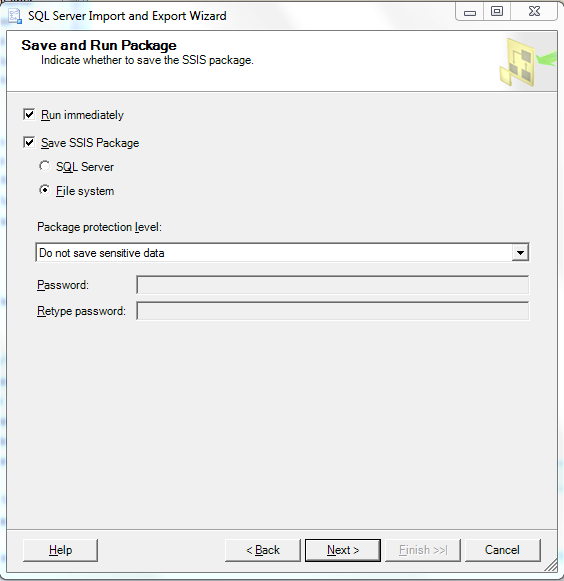
In the Save and Run Package step of the wizard leave checked Run immediately and check Save SSIS Package with the File system destination option and click next.
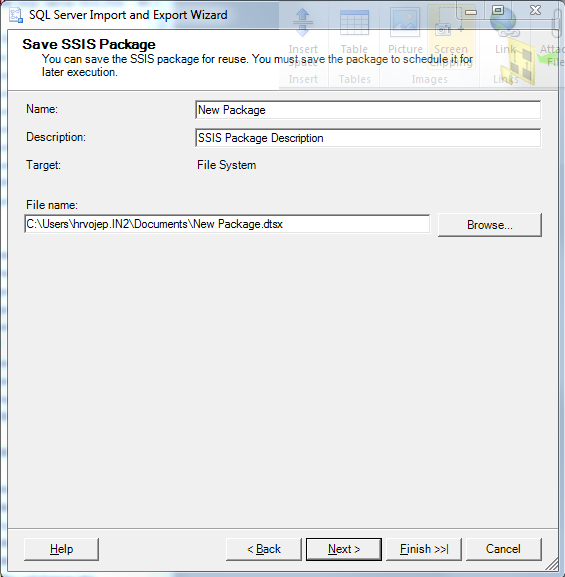
I had trouble naming the package so just leave it with default values (New Package.dtsx in My Documents) and click next.
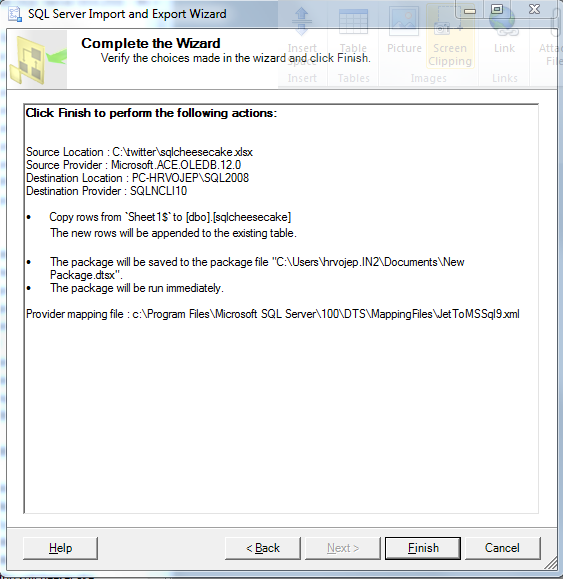
A summary of settings is displayed. Click Finish.
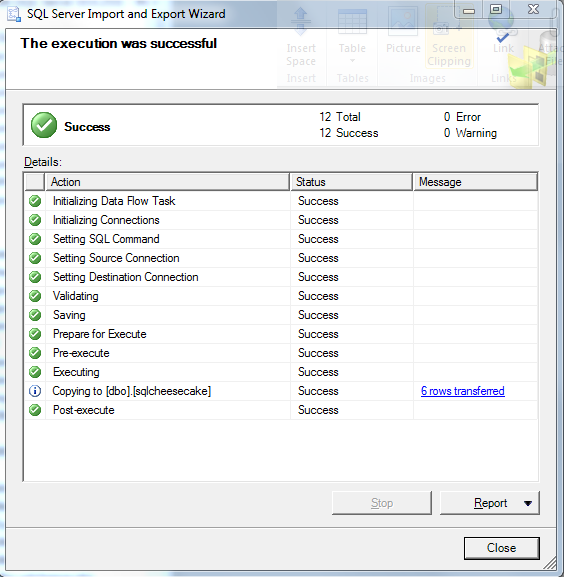
Remember we selected the option to run the package immediately, so the package is started and we get the following screen.
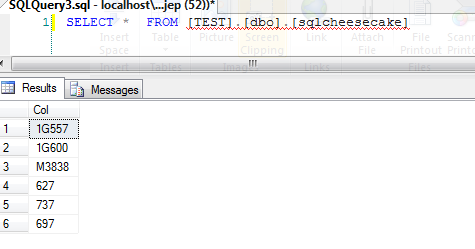
You can test it from SSMS.
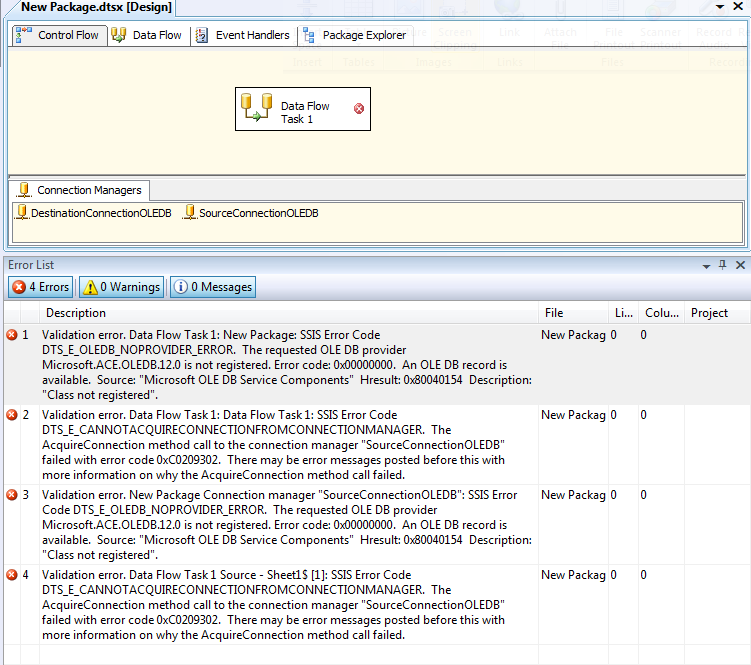
Now let’s open the package in Visual Studio 2008 or BIDS. Click on the Error List pane and note the errors.
You will not be able to work with this dataflow in designer. And that leads us to an alternate solution.
Solution 2 – Using OLE DB Source in DataFlow with SQL Server as the Data Source
This solution will result in a maintainable and editable package that has no dependency on the development platform. It will work even if you do not have the ‘Microsoft.ACE.OLEDB.12.0’ provider installed as long as the provider is installed on any remote machine running SQL server 64-bit provided you have access to it.
As this solution uses OPENROWSET to provide data from Excel we have to setup SQL server options.
Fire up SSMS and execute the following script on the instance of sql server 64-bit that you will be using. I was using my local instance of SQL Server 2008 Developer Edition 64-bit. If you are using anything other than test/dev server consult your system admin first.
-- Code start
USE [master]
GO
sp_configure 'show advanced options', 1
GO
RECONFIGURE WITH OverRide
GO
sp_configure 'Ad Hoc Distributed Queries', 1
GO
RECONFIGURE WITH OverRide
GO
EXEC master.dbo.sp_MSset_oledb_prop N'Microsoft.ACE.OLEDB.12.0' ,  N'AllowInProcess' ,  1
GO
EXEC master.dbo.sp_MSset_oledb_prop N'Microsoft.ACE.OLEDB.12.0' ,  N'DynamicParameters' ,  1
GO
-- code end
Now test the configuration with a query similar to this (adjust the excel path for your environment):
-- test query 1: change the path to your excel file
select * FROM OPENROWSET(
'Microsoft.ACE.OLEDB.12.0'
, 'Excel 12.0;Database=C:\twitter\sqlcheesecake.xlsx'
, [Sheet1$]
)
-- test query 2: change the path to your excel file
select * FROM OPENROWSET(
'Microsoft.ACE.OLEDB.12.0'
, 'Excel 12.0;Database=C:\twitter\sqlcheesecake.xlsx'
, 'select top 2 * from [Sheet1$]'
)
If the tests pass and results are returned we can move on.
Fire up BIDS or Visual Studio and create a new SSIS Project. Drag a data flow task in the control flow and double click on it to open the Data Flow tab.
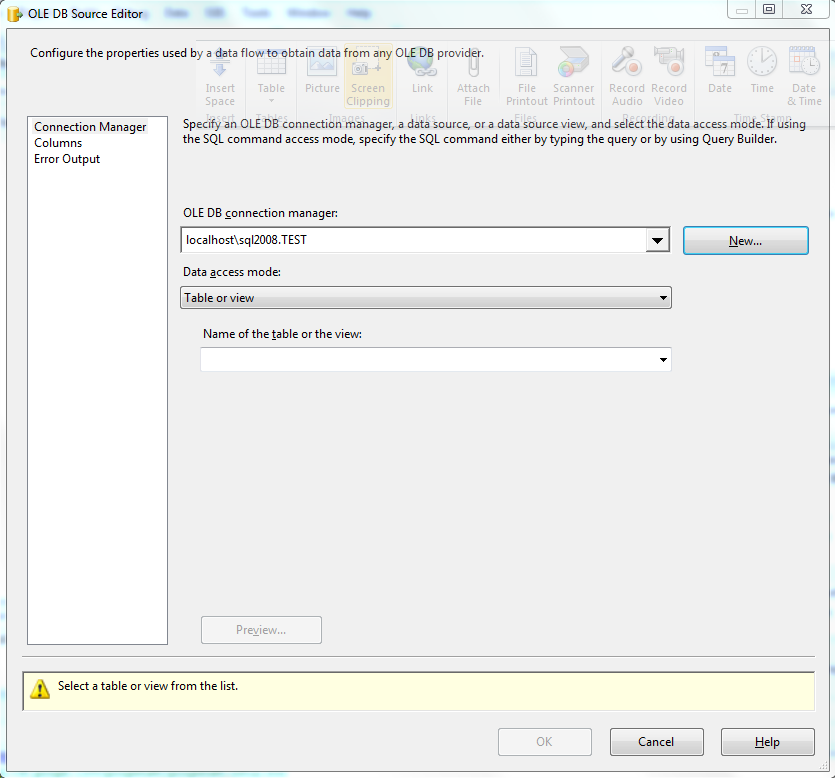
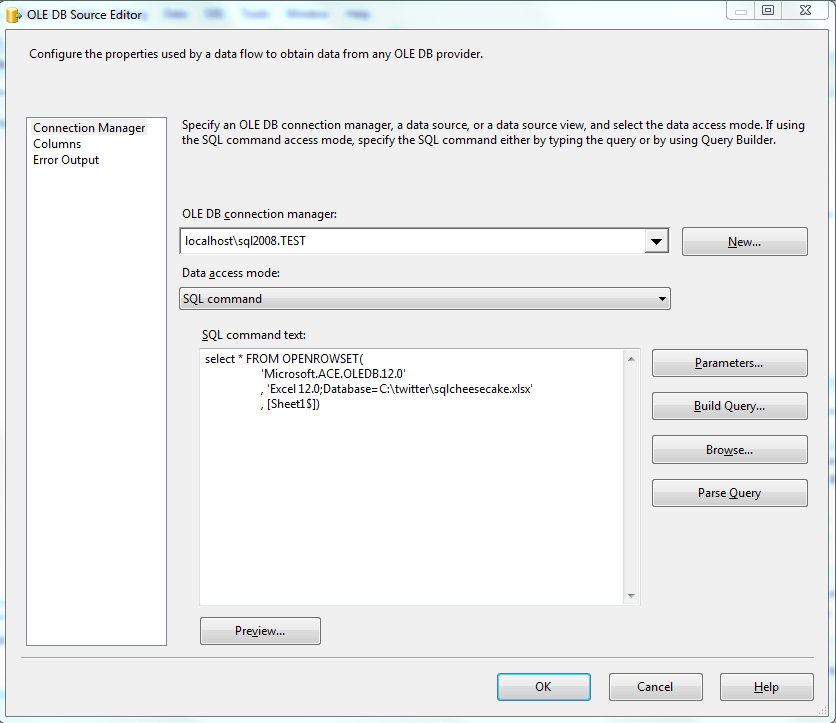
Now drag an OLE DB Source component from the Data Flow Sources and double click to configure it. Create the connection manager to the SQL server that you will be using. Set the database to the database that you will be importing the excel data (this is not required but I have used the same connection for the OLE DB destination to keep it simple and stupid).
From the Data access mode dropdown select SQL command (SQL command from variable is also an option but it is not important for the concept).
Type in (paste) your test query in the SQL command text box.
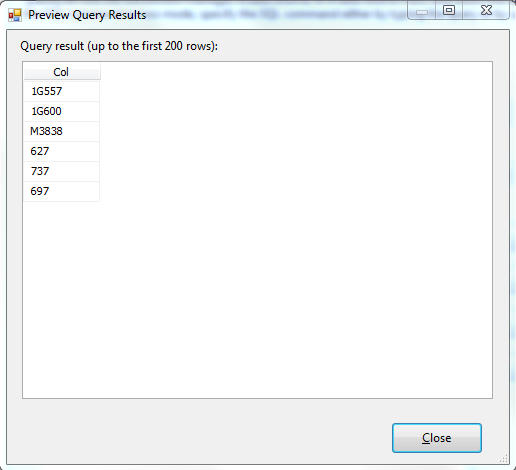
Now click on the Preview button to test your query. It should display results if everything is setup ok.
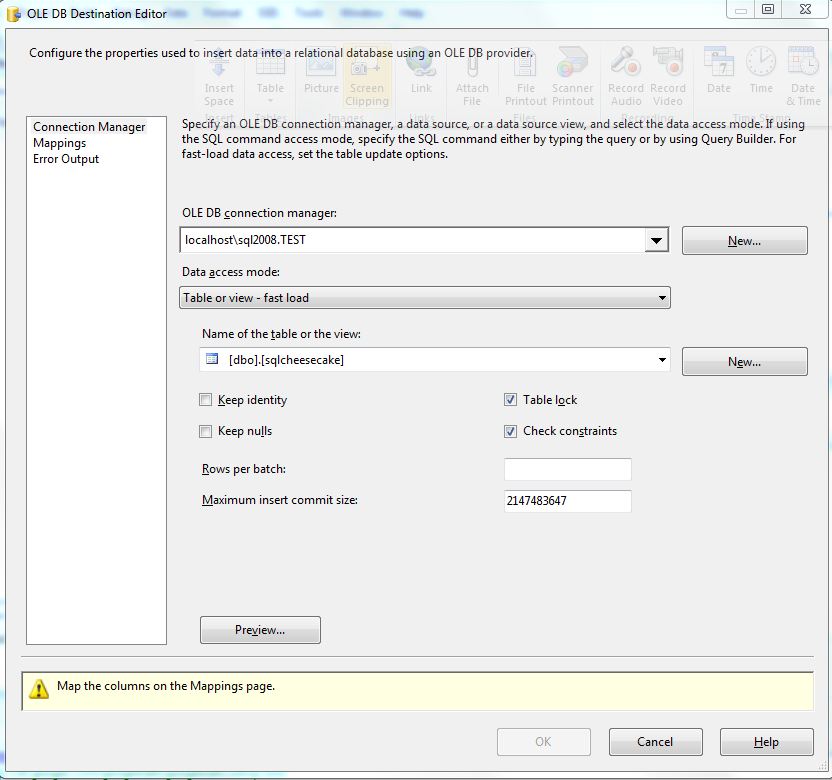
Now drag an OLE DB destination to the data flow, connect the source component to the destination and configure your destination connection and table. I’m reusing the same connection manager.
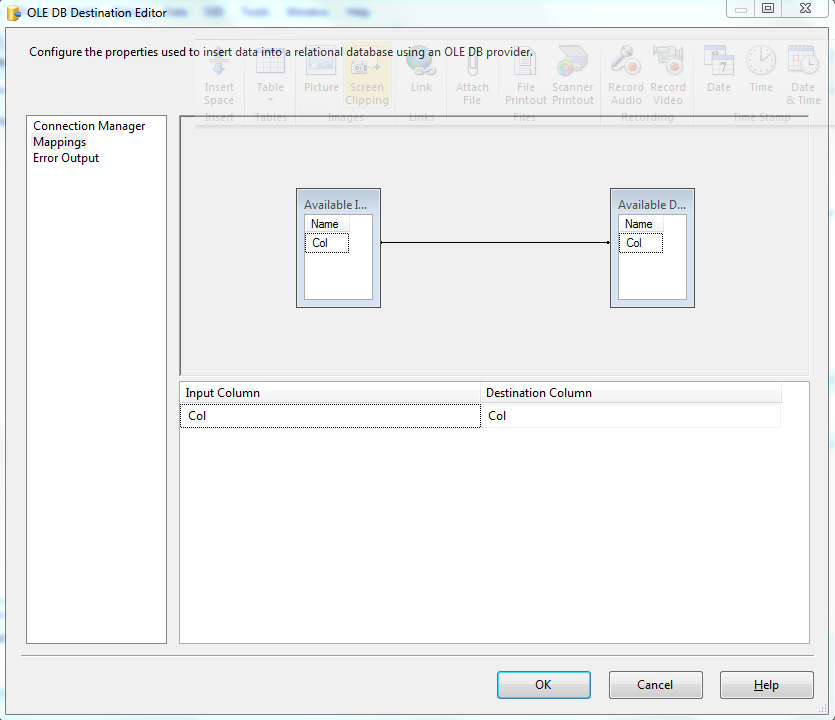
Configure column mappings and you are ready to go.
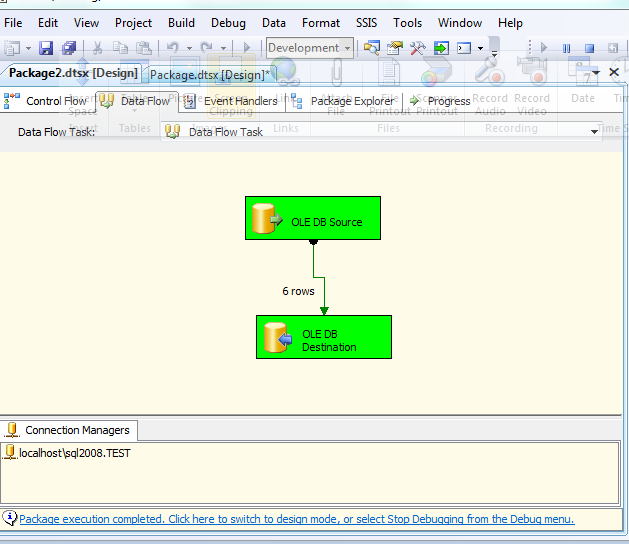
Right click somewhere in the data flow and select Execute Task to run the data flow task.
If everything is ok you should see the beautiful green boxes all around 🙂
Well, this turned longer to write than I expected but I know I have saved a lot of time to a lot of peeps in the Community.
Cheers,
Hrvoje Piasevoli
